Ready to rock adorable Valentine's Day nails without the salon price tag or hours of work? This year, short nails are where it's at! They're practical, chic, and surprisingly versatile. Forget complicated designs; we've got the cutest, easiest Valentine's Day nail art ideas, perfect for any skill level. Get ready to unleash your inner nail artist!
1. Romantic Red: A Classic Reimagined
(Image of deep red nails with a single rhinestone)
Deep reds are a Valentine's staple, but let's spice things up! Think rich burgundy or a vibrant scarlet. A glossy top coat is always chic, but a matte finish adds a luxurious touch. A single rhinestone adds subtle sparkle! This is totally beginner-friendly.
Step-by-Step:
- Prep your nails. Gently push back your cuticles.
- Apply two thin coats of your chosen red polish, letting each dry completely.
- Add a tiny rhinestone near the base of each nail using nail glue.
- Finish with a top coat (glossy or matte).
2. Heart-Melting Accents: Subtlety is Key
(Image of nude nails with tiny red hearts)
A neutral base—nude or pale pink—is perfect for adorable heart accents. Use a fine nail art brush (or even a toothpick!) and a contrasting color (red, rose gold, or silver) to paint tiny hearts. Heart-shaped nail studs are a faster alternative!
Step-by-Step:
- Apply two coats of a neutral base color.
- Carefully paint tiny hearts near the base or apply heart studs.
- Finish with a clear top coat.
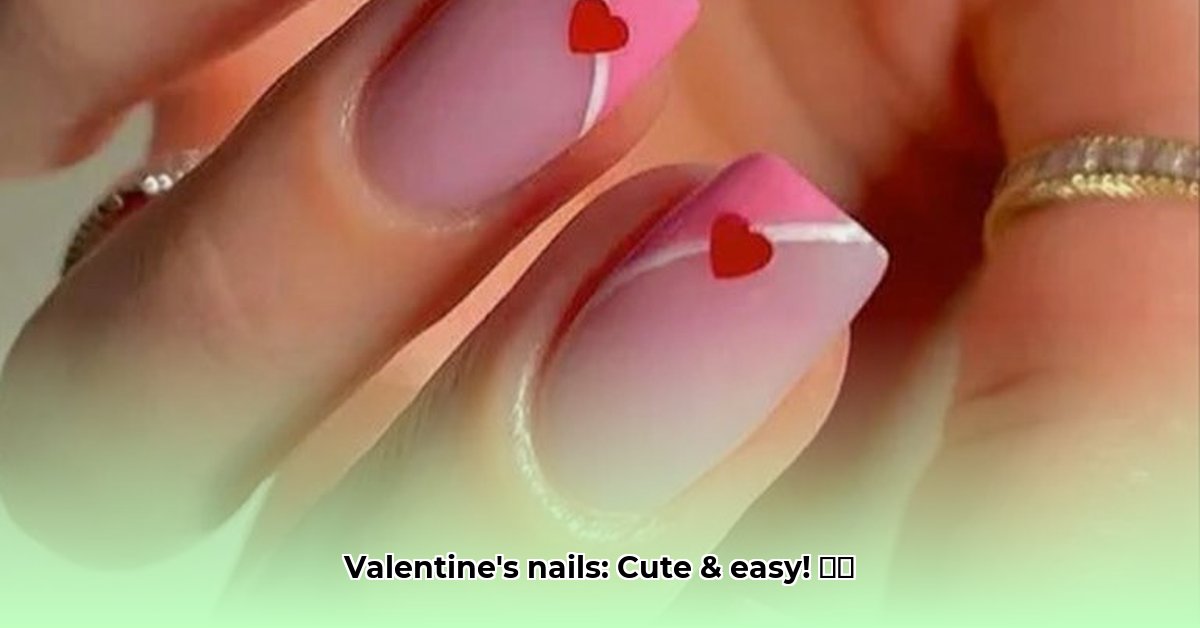
3. French Tips with a Valentine's Twist: Sophisticated & Sweet
(Image of French manicure with pink heart tips)
The classic French manicure gets a romantic upgrade! Instead of white tips, try a delicate pink, bold red, or shimmering gold. Paint tiny hearts instead of straight lines for an extra-cute touch. This requires a bit more precision but is totally achievable.
Step-by-Step:
- Apply a base coat and two coats of a neutral base color.
- Carefully paint heart tips with your chosen shade.
- Finish with a high-shine top coat.
4. Glitter and Glam: Sparkle Your Way to Valentine's Day
(Image of red and gold glitter ombre nails)
Glitter is your Valentine's Day best friend! An easy ombre effect with red and gold glitter is elegant and festive. Use a makeup sponge to gently blend the glitter shades for a beautiful transition, or sprinkle glitter over a wet base coat for a more playful effect.
Step-by-Step:
- Apply two thin coats of your base color (red, pink, or nude).
- Use a sponge to dab on glitter polishes, blending for an ombre effect, or sprinkle glitter over a wet base coat.
- Seal with a top coat.
5. Minimalist Magic: Less is More
(Image of a single accent nail with a tiny gold heart)
Sometimes, less is more! Choose one accent nail (often the ring finger) and add a tiny heart or a delicate gold line. A single touch of sparkle or color makes a chic statement, especially on short nails.
Step-by-Step:
- Paint all your nails with two coats of your favorite solid color.
- On your accent nail, paint a tiny heart or line using a fine liner brush and gold or a contrasting color. Nail art stickers work great too!
- Apply a top coat.
Did you know that short nails are actually easier to maintain than long nails? This makes them perfect for busy Valentine's Day schedules.
Tips for Stunning Short Nail Art
- Keep it simple: Avoid overly intricate designs to prevent a cluttered look.
- Choose flattering shapes: Oval or almond shapes elongate short nails.
- Use light, bright colors: These make your fingers appear longer.
- Focus on accent nails: One or two accent nails make a big impact.
Remember, the key is to have fun and express your personal style! Experiment and find what works best for you. Happy Valentine's Day!